Bath repair dos and don’ts | Bathtub Repair
With so many ways to repair a damaged bathtub or shower, it can be overwhelming trying to figure out the best approach. You need to know the right products and how to use them. Let’s look at some typical bath repair dos and don’ts, so you can tackle any damage…
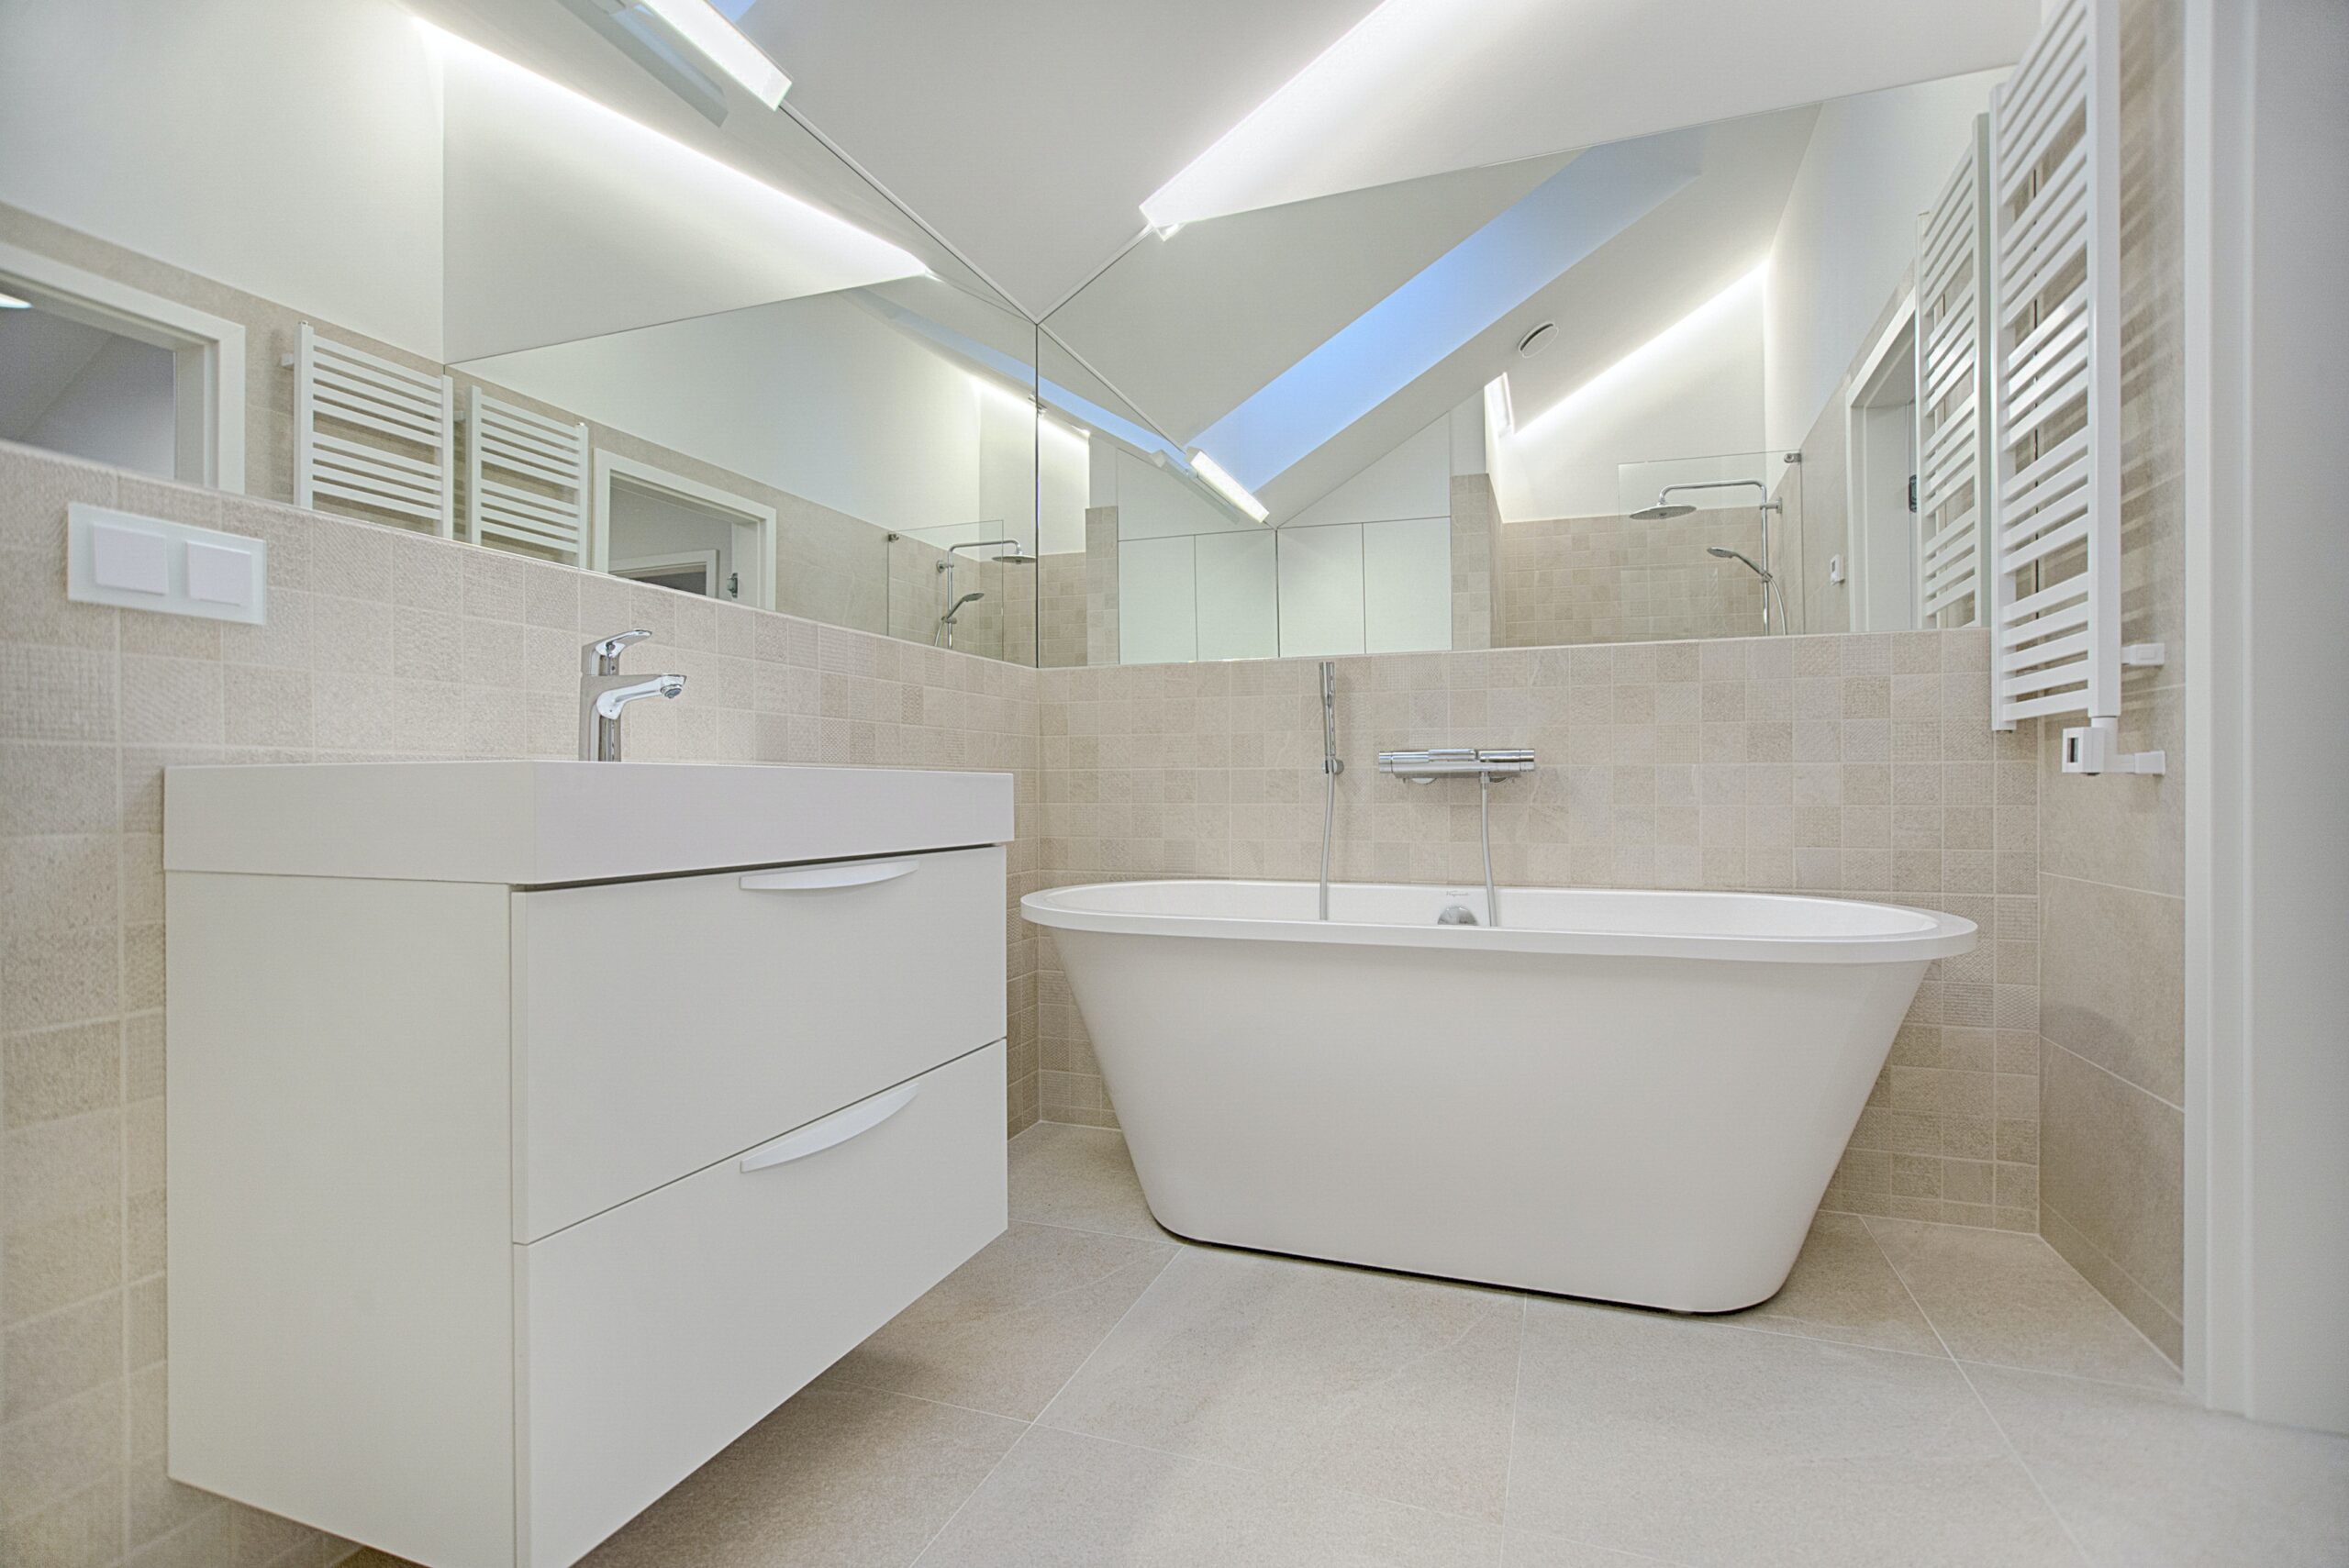
What is the best way to repair my damaged bath?
Before you decide on how to fix the problem, you need to know the scale of the issue.
Here’s a simple checklist:
- Are there any water leaks? Look around the area surrounding your bath or shower for any suspicious watermarks and damp patches.
- Have you fully inspected the damaged area? Run your finger carefully around the chip, crack or dent to see if the damage has penetrated through the surface.
- Have you thoroughly cleaned and dried the affected area? Make sure the surface area to be repaired is completely free from any dirt, dust, grease or detergent.
Once you have followed the above steps, you can then decide on the right product to repair your bath or shower. Read on to find out how to carry out your repair correctly…
What are the best repair kits for baths and showers?
Do you have a water breach? You’ll need to fix the hole with some putty before applying any other product. Our Putty Repair Kit can be applied to secure any areas where water has penetrated through the surface. Simply cut off the amount required and knead it with your fingers until the colours are even. Next, apply the putty to the area by pressing firmly.
Once your putty-repair is done, it’s time to choose your bathtub repair kit! We have two budget-friendly options. Our Rapid Set Repair Kit is perfect for fast fixes, setting in just 3 hours! Not in a big rush? Our standard Acrylic Bath Repair Kit cures within 24 hours.
Both kits are applied using the same method. Simply add the contents of the brown bottle to the contents of the aluminium bottle. Mix the contents slowly and steadily using the stirring rod provided. Next, apply the product using the supplied syringe, placing the polythene film over the top. Smooth outwards using light pressure to release any trapped air bubbles.
Once the product has fully cured, rub down the repaired area with the supplied emery paper. Using cotton wool, apply the supplied Acrylic Polish to ensure a smooth gloss finish.
Bathtub Repair Dos
- Make sure you have all the components needed before your repair, so you are ready to go. Our market-leading repair kits cure very quickly, so you need to be prepared! Use our products within 15 minutes of mixing.
- Always use the syringe to apply the product and slightly overfill the area. If you have too much excess product afterwards, you can always use a Stanley knife to carefully shave this down.
- If you only need half the product, simply mix half the liquids together. If you see any air bubbles appear, replace the cap on the aluminium bottle and leave for 5 minutes so they come to the top.
- If the damaged area is at an angle, use Blu-Tack to create a reservoir to retain the liquid in the damaged area, while it is curing. You could also allow the product to thicken and become more viscous before applying to prevent the liquid escaping the repair area.
- Wet the supplied emery paper to make the sanding process a little easier.
Bathtub Repair Don’ts
- Where possible, don’t apply putty to the top surface. Instead, press the putty firmly into the underside of your bathtub or shower tray. Ensure there is a 3 – 4 mm gap between the putty and the bath surface, so the repair liquid can adhere. If you have to apply from the top, depress the putty until you achieve the minimal gap.
- Don’t apply the acrylic repair kit until at least 1 hour after the putty has been used. This is the minimal time for the putty to cure (it will fully harden after 24 hours).
- Never pre-mix the acrylic repair kit solutions beforehand. Always mix and use immediately within 15 minutes.
- Don’t leave any indents between the surface of the repair and the surrounding area, as you need to allow for shrinkage. The product will shrink by 20% as it hardens. The surface of the repair needs to be proud over the damage to avoid it sinking. If it is not proud to the surface level, you will need to repeat the process.
- Don’t remove the polythene film until the product has fully cured and hardened. Our Rapid Set Repair Kit takes 3 – 6 hours and our standard Acrylic Bath Repair Kit takes 12 – 24 hours.
Once you have carried out your repair, don’t forget to tag us on Instagram @bathrepairkit, using the hashtag #bathrepairkit. We love to see and share our customers’ photos!
Find the right bath repair kit with our handy online product tool