How to repair a hole in my bathtub
Are you asking yourself ‘how do I repair this hole in my bathtub?!’? Well we hear you – and we’re here to help.
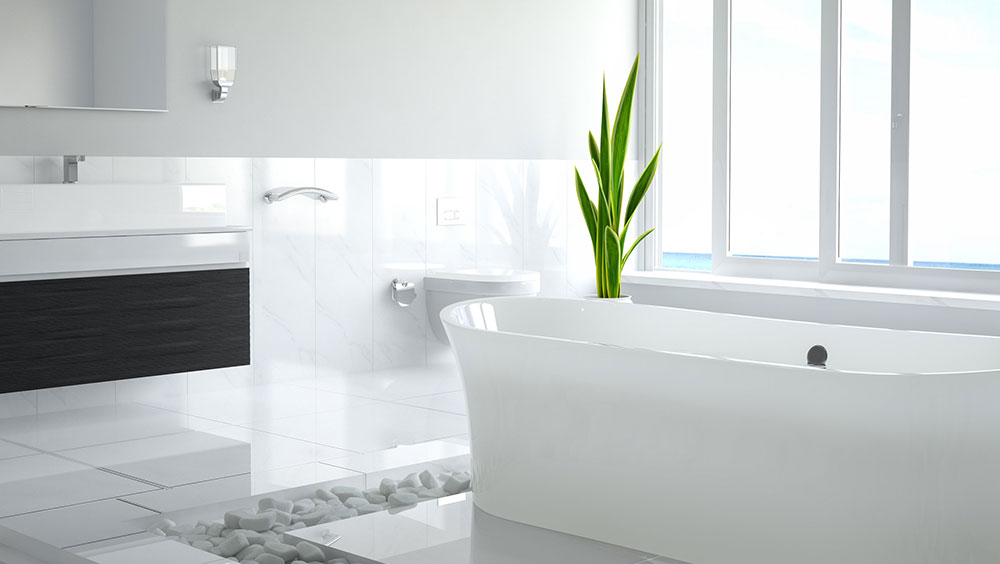
Picture this, you just bought a brand new bath suite – it finally gets fitted and everything looks great. Next thing you know, you accidentally drop something in your bathtub and your new bath now has a hole in it. You probably have a million things going through your head such as ‘how did I manage to get a hole in my bathtub?!’, but a bath repair kit is all you need to put your mind at rest.
How will a Bath Repair Kit repair a hole in my bathtub?
It’s simple enough to repair a hole in your bathtub, our Bath Repair Kit contain everything you need – without having to break the bank (or your bath even more!).
Our Bath Repair Kit is essentially liquid acrylic – which is the same as a bath melted down. The repair kit will repair chips, cracks, dents, splits and even holes in the surface of baths and shower trays. Repairs can be held on acrylic, plastic, stone resin, ceramic and enamel surfaces.
The Bath Repair Kit offers an invisible colour match. The kit comes matched to IW28 colour code which is a European white, which matches 90% of all bathroom suites. If you are unsure of your colour code, contact your bath manufacturer and they will be able to provide the correct code. If your ICI colour code is different to a 1W28, you would need to contact us and we can supply you with a kit manufactured to your ICI colour code.
Here are simple steps to repair the damage:
- Apply the putty to the hole from underneath the bath if possible. The Epoxy Putty will harden after 5 minutes – full strength after 24 hours.
- Add complete contents of brown bottle Part 2 to Part 1.
- Mix two parts in aluminium container using the rod provided.
- Extract the mixed liquid using the syringe.
- Apply with Syringe and overfill the mixed solution on the damaged area.
- Smooth out any air bubbles with film. Leave to cure for 12 to 24 hours or 3 to 6 hours with Rapid set and Putty Kit.
- Rub down with wet and dry provided.
- Polish to a smooth finish.
You can find further information and images on how to use the Bath Repair Kit by visiting our website.
Video tutorials on how to use the Bath Repair Kit can also be found on YouTube.
If you’re ready to repair your bathtub, buy the Bath Repair Kit online. Remember, if your ICI colour code is different to a 1W28, you would need to contact us and we can supply you with a kit manufactured to your ICI colour code.
Still have questions? Visit our FAQs or contact us on +44 (0)1664 480866
You can view our reviews on Trustpilot.
For information – the kit includes the following:
- Piece of Anglo Epoxy Putty
- Part 1 – 10ml aluminium container
- Part 2 – Brown bottle
- Stirring rod
- Polythene film
- Wet & Dry Emery paper
- Acrylic polish
- Cotton wool ball
- Syringe
- Protective Gloves